Creating and Using Groups
Last updated: December 14th, 2018
IMPORTANT NOTE: The screenshots in this user manuals are for training purposes and might differ slightly from the actual screen output you obtain when working on the current NDEx version deployed to our public server.
Overview
A group is a collection of users. A group simplifies network sharing. Want to collaborate with the same people with multiple networks? Create a group, invite members and share networks with the group; all members will automatically gain access to the networks.
Create a Group
You must be signed in to create a group.
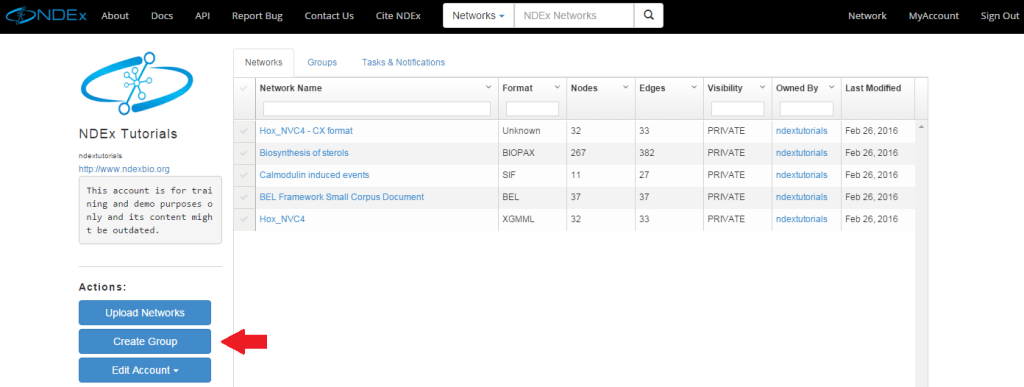
- Go to your account page and click the "Create Group" button
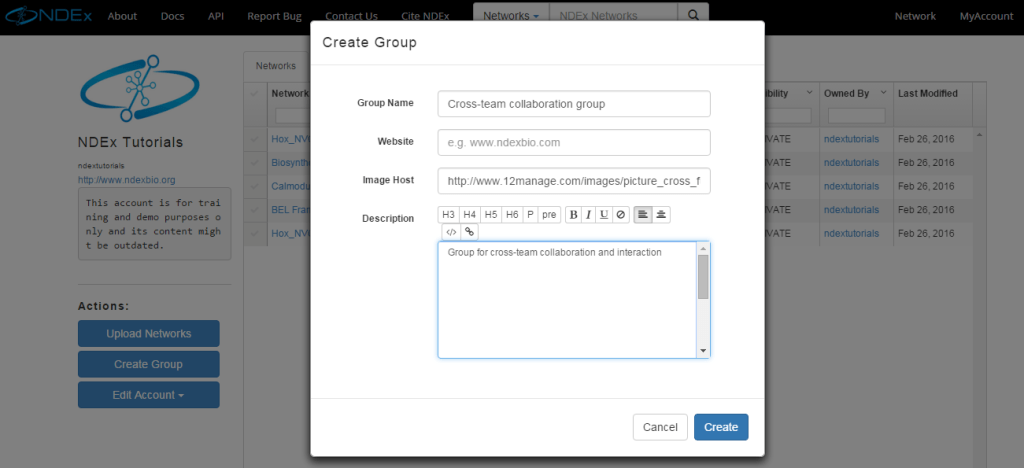
- A dialog box will appear with information to enter. Choose a unique group name because this will be used to identify the group in the system. Once the group is created, you automatically become an admin to the group. Groups can have more than one admin.
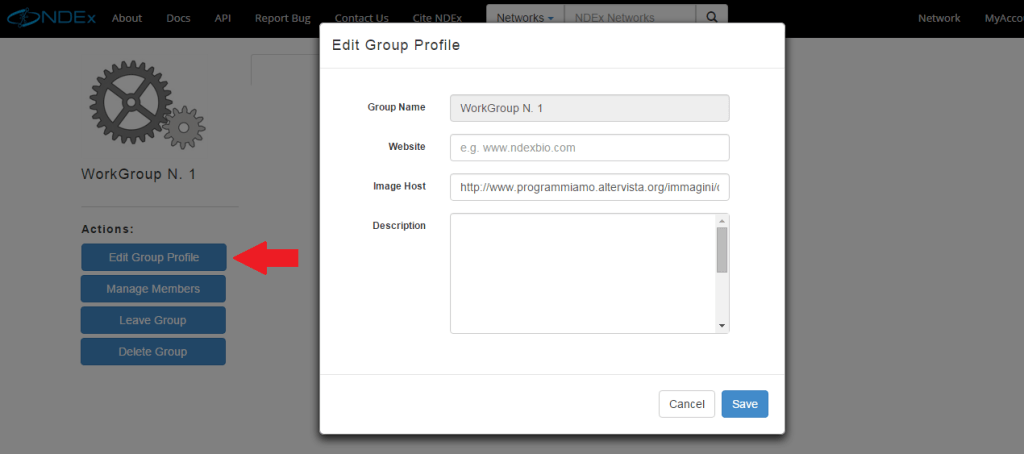
Edit Group Profile
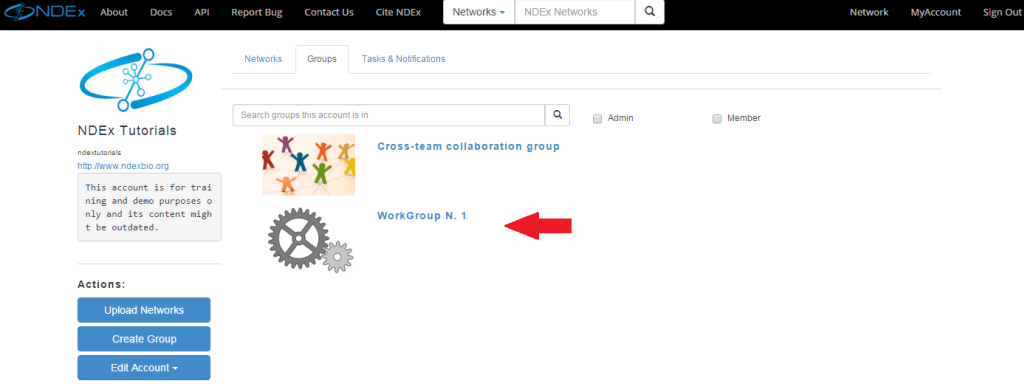
In your "My Account" page, click the Groups tab to visualize all the groups you manage and/or belong to and select the group you wish to edit
Then, click the "Edit Group Profile" button and use the pop up window to edit or update the group profile information.
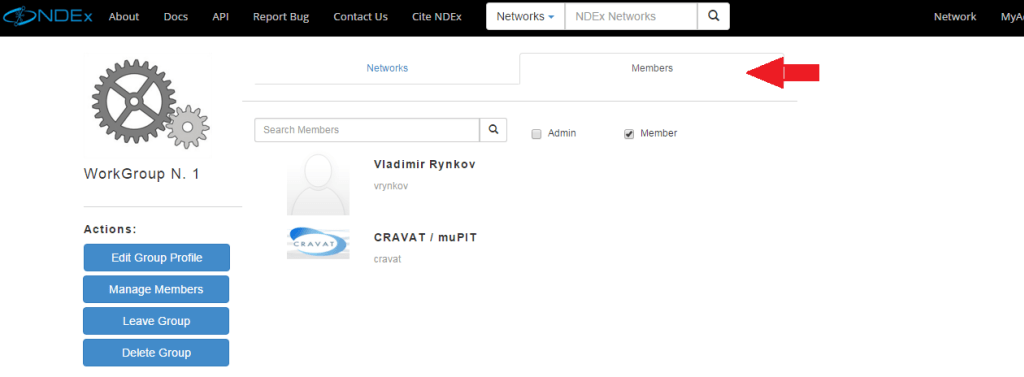
Networks and Members
- Networks and members pertinent to the groups will be displayed in the center of the display. Toggle between displays by selecting the appropriate tab
- You can see who is a member or admin of a group by checking the Member or Admin boxes.
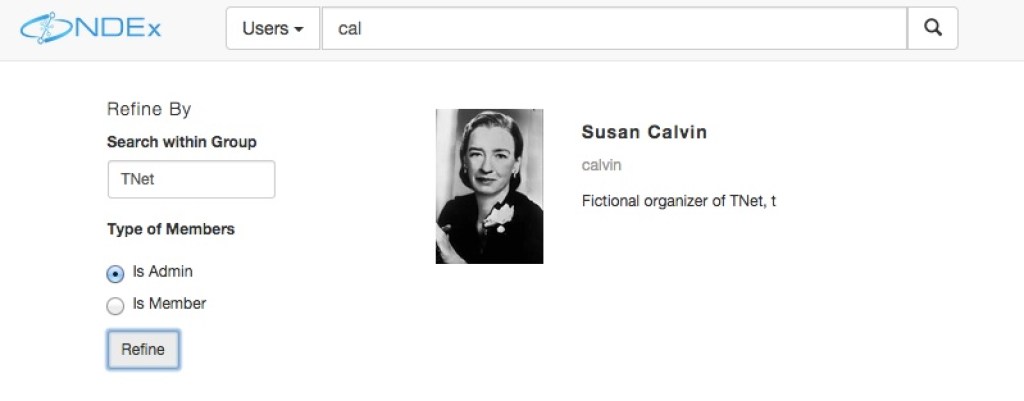
Finding Groups and Users
- The search mode on the navigation bar can be changed to search for users by name or description. Please note that the accounts pictured in this tutorial are fictitious.

- Click on one of the search results to view the user, their networks and groups.
- Use the Search Within Group option on the left to limit the search to a specific group. Currently, the group name must be entered in full.
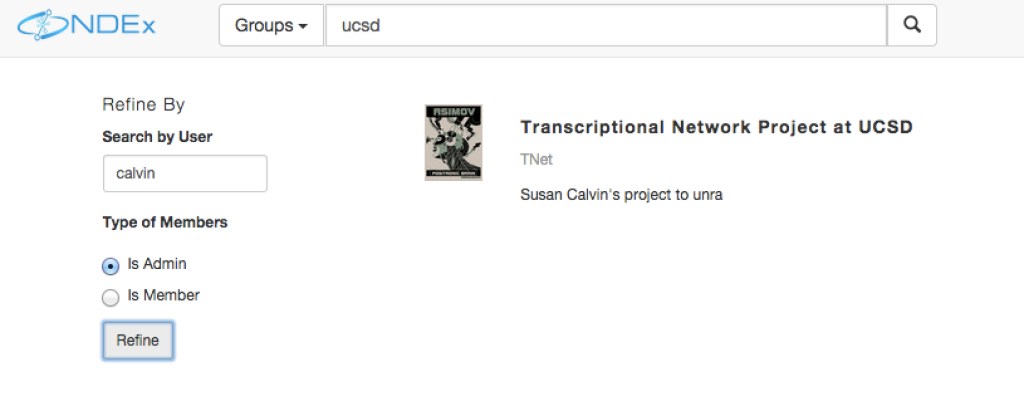
Search for Groups by Group Name and Description
- The search mode on the navigation bar can be changed to search for groups by name and description.
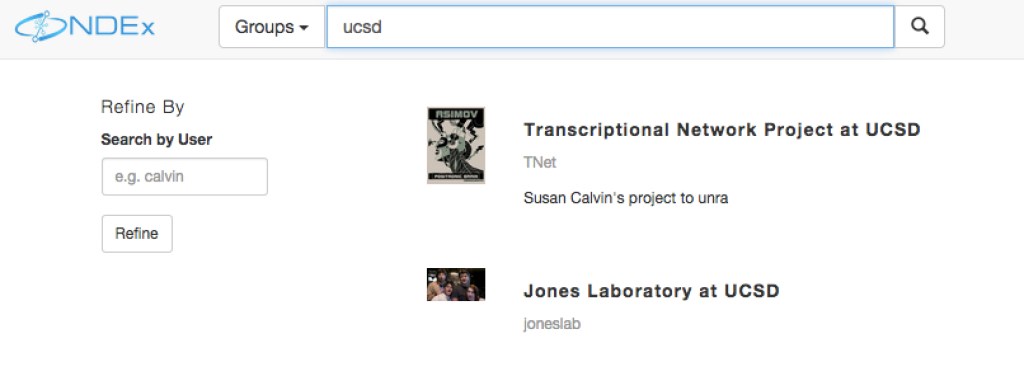
- Click on one of the search results to view the group, its networks and members.
- Use the Search By User control on the left hand side to limit the search to a specific user. Currently, the username must be entered in full.
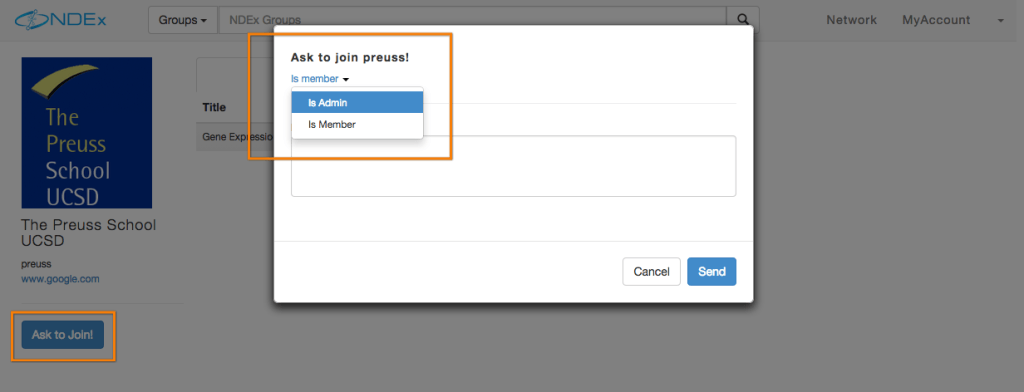
Request to Join Group
- To join a group, navigate to the group's page.
- Click the Ask To Join! button.
- Make sure to specify the type of membership in the options (see picture below).
- Enter an optional message.
- Click Send.
The admin in this group will receive the request and have the option to respond.
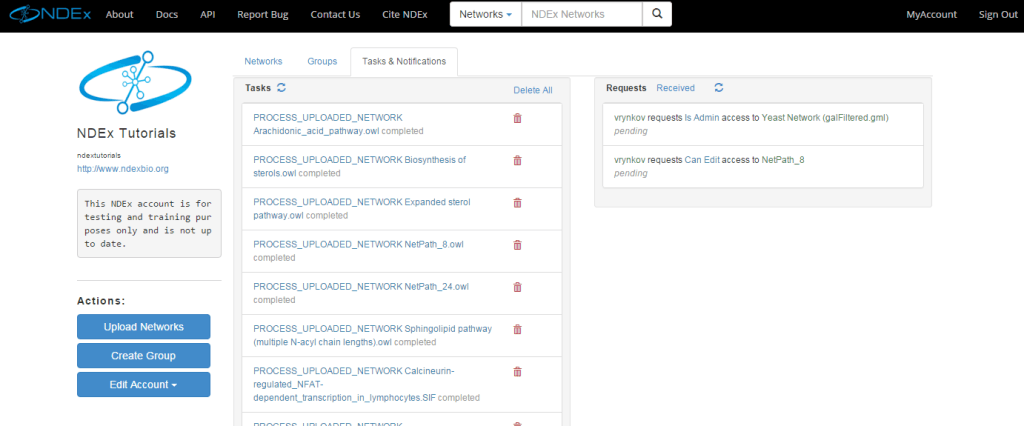
Granting Membership to a Group
If you are an admin of any groups, you will receive requests sent by other users to join the group.
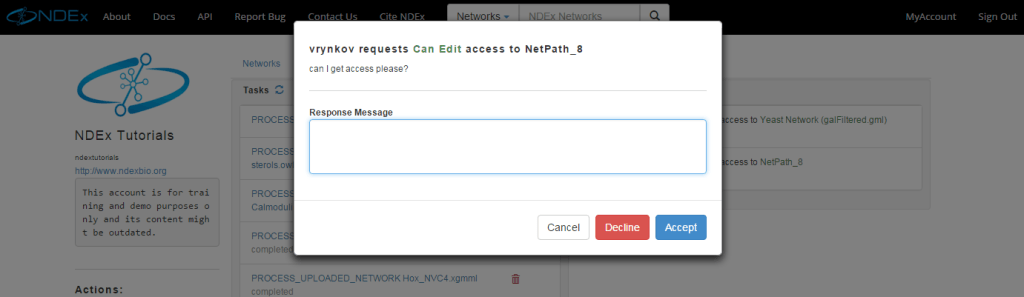
- Navigate to the Tasks & Notifications tab of your "My Account" page and click on the request in the "Requests" panel
- You can enter an optional response message and choose to decline or accept the request.
Managing Members
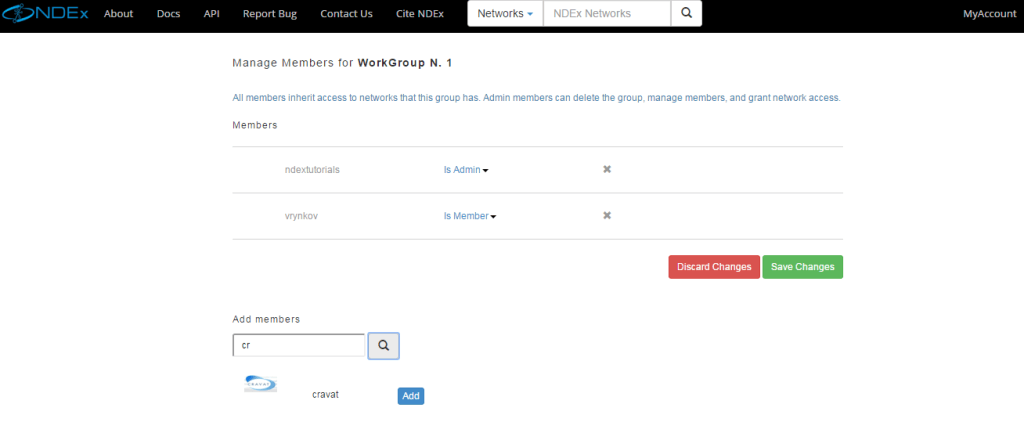
- To add members to a group, click the "Manage Members" button
- The page to manage members hase simple search tools to find new members to add to the group. It also shows existing members and status (Admin or Member).
- Use the search box to find a user and click "Add" to automatically make that user a member of the group.
- Change a Member to an Admin or vice versa clicking on the hyperlink text and selecting your option. Please note that promoting a Member to Admin will grant him full control on the Group
- Remove a member by clicking on the X.
- Once again, use the red and green buttons to Discard or Save your changes.